The Hybrid Chick

DIY and Crafts

  • About
    • Privacy Policy
  • Paper Crafts
    • Book Covers
    • Bookmarks
    • Notes
    • Origami
    • Paper Flowers
    • Paper Wreaths
    • Printables
    • Templates
  • Scrapbooking
    • Planners and Journals
  • Sewing & Fabric
    • Fabric Crafts
  • Other Crafts
    • Floral
    • Glass Crafts
    • Wood Crafts
      • Spools
      • Wine Corks
    • Yarn Crafts
  • Holidays
    • Christmas
      • Ornaments
    • Mother’s Day
    • Thanksgiving
    • Valentine’s Day
  • Lifestyle & Family
    • Beauty
    • Family and Kids Crafts
    • Fashion
      • Jewelry & Accessories
    • Home Decor
      • Baby Decor
        • Baby Shower
      • Wreaths
You are here: Home / Holidays / Christmas / Photo Gift Wrap
Christmas, Holidays, Paper Crafts, Printables

Photo Gift Wrap

July 27, 2017 Leave a Comment


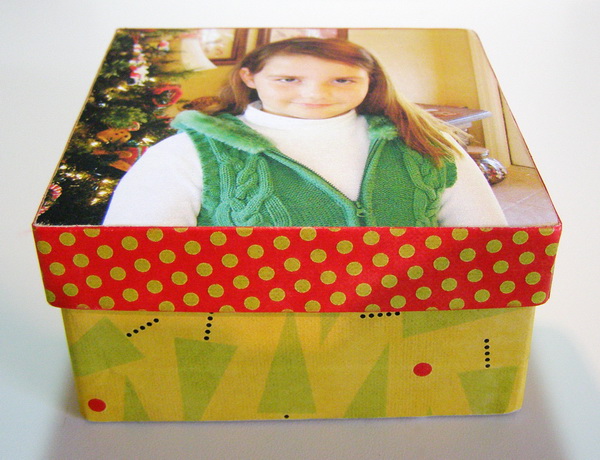
I love to make gift boxes and one of my favorite ways to package a gift is to create a photo gift box.Since we are celebrating Christmas in July here at The Hybrid Chick, I’ve got a holiday gift box that will make the gift inside even sweeter.

Supplies:

  • Digital Paper Kit
  • Paper Mache Box
  • Photo (sized to fit the lid of the box)
  • File or Sandpaper
  • Adhesive (I‘ve used Xyron)
  • Miscellaneous Embellishments (I’ve used ribbon, adhesive jewels, chipboard and rub-ons)
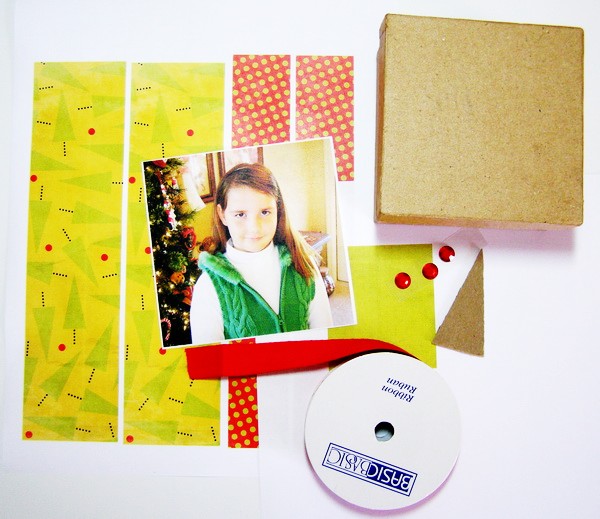
supplies

Begin by measuring the sides of the lid and the sides of the bottom of the box to determine the amount of paper you will need to print to cover the box. Print digital papers for box lid and box bottom.Next measure the top of the box and print your photo to fit it.

Cover the bottom of the box.I printed two long strips of paper to wrap around the sides.When adhering paper to the sides, line up the top edge of the paper to the top edge of the box , you can then use a file or sandpaper to go around the edges to remove excess paper from the bottom.
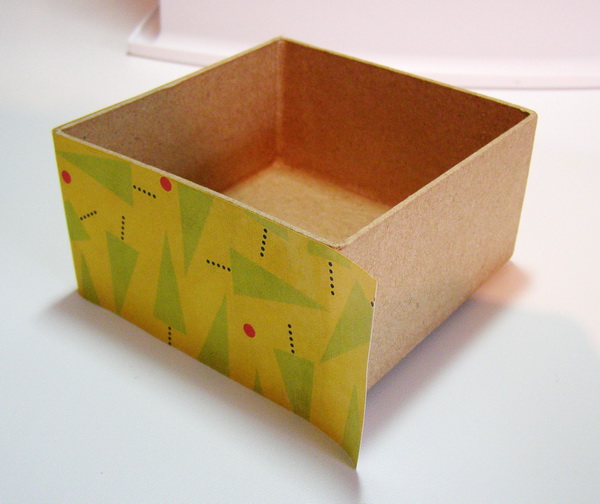
gift box bottom

Before covering the sides of the lid, first add the photo to the top of the lid.Use a file or sandpaper to remove any excess paper from the sides as the photo will need to fit right to the edge.
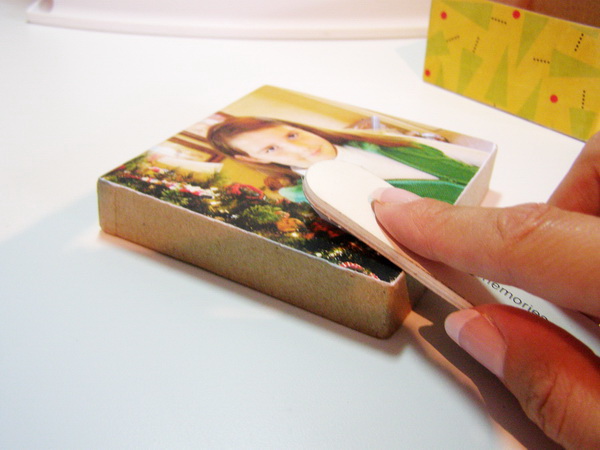
gift box lid

After the photo is in place, cover the sides of the lid making sure to line up the top edges nicely against the photo.Again, remove any excess paper from the bottom of the lid with a file or sandpaper.


Now you have the box and lid completed!
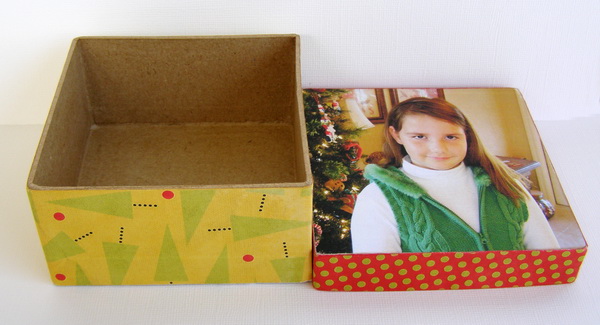
gift box

gift box

To add a finishing touch to my gift wrap, I added a bow and a chipboard Christmas tree embellishment cut from chipboard (just a triangle covered with paper from the digital kit).I added a rub-on sentiment to the tree and a red jewel to the top and attached it to the center of the bow.
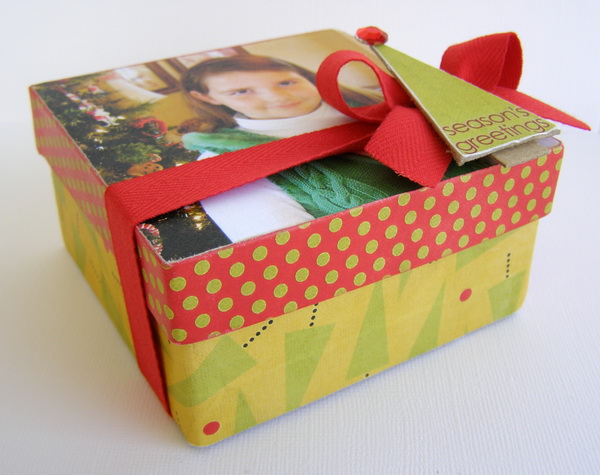
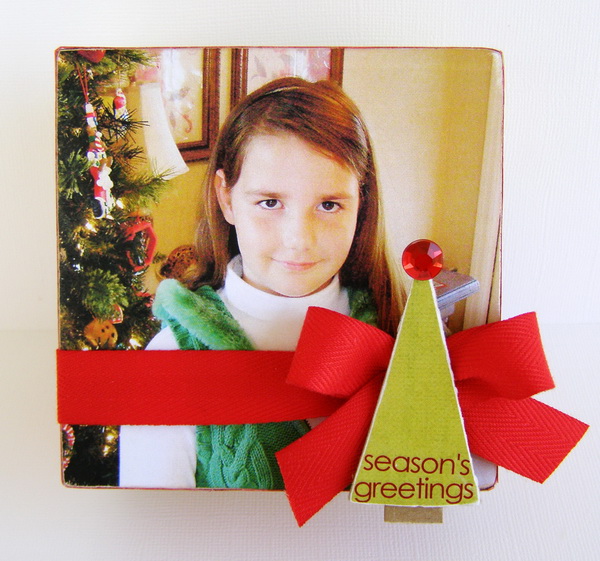
finished gift box

finished gift box

Merry Christmas in July!

DIY Gift Wrap Gift Wrap Holiday Gift Wrap Photographs
by Carla 
Leave a Comment

Filed Under: Christmas, Holidays, Paper Crafts, Printables Tagged With: DIY Gift Wrap, Gift Wrap, Holiday Gift Wrap, Photographs

About Carla

View all posts by Carla

Related Posts

  • Suitcase Gift Box
  • Hybrid Scrapbooking: Where to Start
  • Tealight Candle Cake
  • Baby Shower Paper Pram
previous article: Index Card Holder
next article: Baby Shower Favor

Leave Your Comments Cancel reply

Your email address will not be published. Required fields are marked *

Follow Me!

  • Facebook
  • Instagram
  • Pinterest
  • Twitter

Recent Posts

  • DIY Apple Pie Playdough
  • Top Craft Kits for Kids
  • Halloween Front Porch Decor Ideas
  • DIY Holiday Centerpiece
  • DIY Fall Centerpeice

Archives

Categories

This error message is only visible to WordPress admins

Error: No connected account.

Please go to the Instagram Feed settings page to connect an account.

Copyright © 2026 · Prima Donna theme by Georgia Lou Studios