

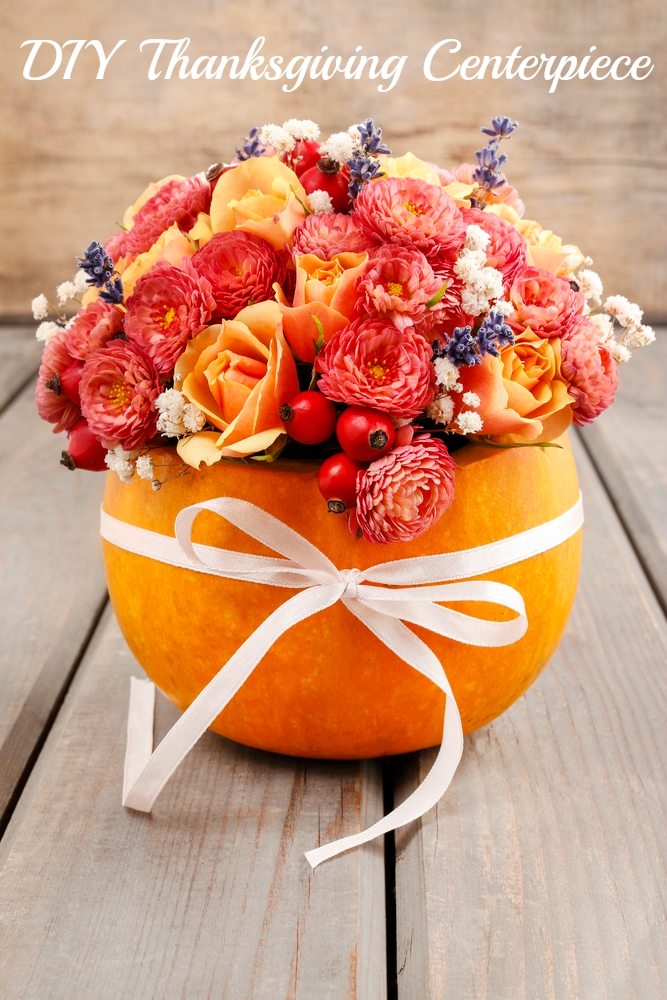
Fall decor can be a lot of fun. Sure, you can buy very nice premade fall wreaths and centerpieces, but it also quite simple to make them yourself. This do it yourself (DIY) project uses a pumpkin and fall flowers to create a festive Thanksgiving centerpiece that actually would be appropriate for the entire fall season, including Halloween. Here is how to make it. The process requires stopping for an hour or two to soak the floral foam. So be prepared to take a break during the project.
You will need the following:
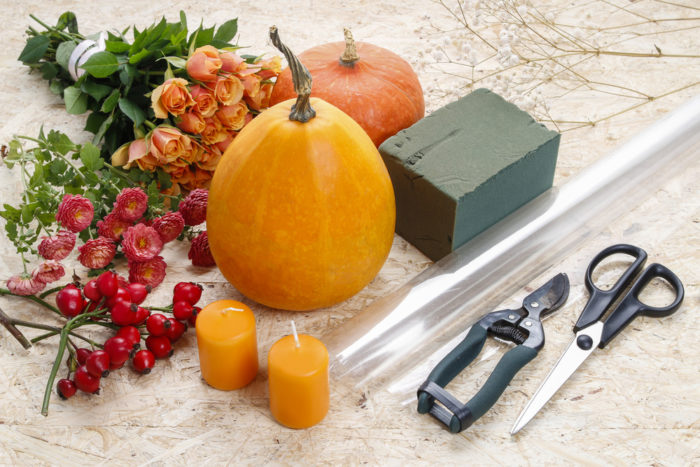
(1) A small to medium pumpkin
(2) A floral foam block
(3) Saran wrap
(4) Scissors and/or clippers
(5) A spoon
(6) A knife
(7) A bowl or tub of water
(8) A selection of fresh fall flowers. Try a selection of roses, mums, daisies, and cranberries in fall colors. Baby’s breath or lavender can also add a bit of contrast. Cranberries on stems can sometimes be hard to find, but you can usually get artificial cranberries that look as good as the real thing. This centerpiece can also be made with silk flowers. If using silk flowers, skip the steps involving soaking the foam block and adding water.
Choose and Cut the Pumpkin
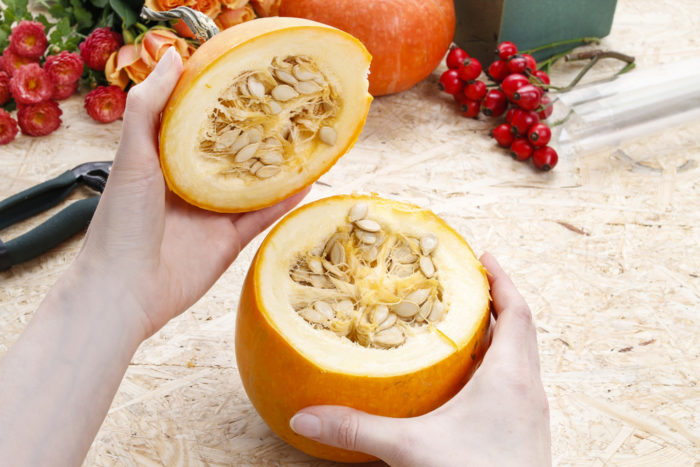
Choose a small pumpkin that has an even round shape at the base, sits level, and is a pleasing color. Begin the project by cutting off the top of the pumpkin to create a space for your flowers. Pumpkins can be difficult to cut with a small knife, so look for a large kitchen knife to do the job.
Prepare the Pumpkin
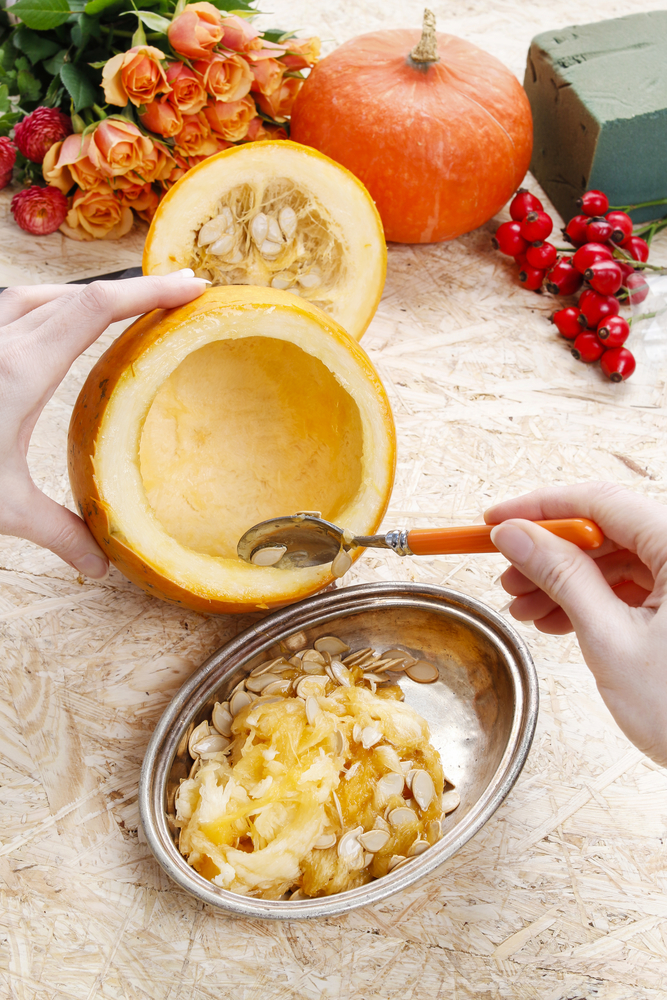
Scoop the guts and seeds out of the pumpkin, scraping the edges until the inside is hollowed out and smooth. discard the top and guts. If you like roasted pumpkin seeds, save the seeds, wash them, salt them, and roast them in the oven until crisp.
Prepare the Foam for the Flowers
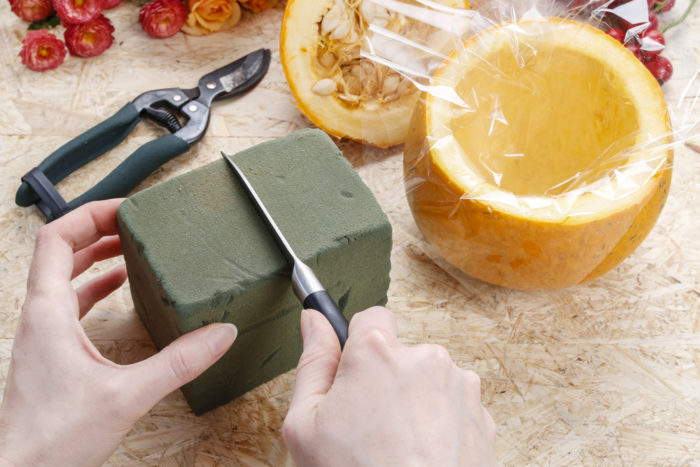
Cover the open pumpkin top with a generously sized square of saran wrap. Cut a piece of floral foam to fit inside the pumpkin. You want the foam to sit comfortably in the pumpkin and level with the open top. Once you have cut the foam and tested its fit, soak it in a bowl or tub of water for one to two hours. This allows the foam to absorb water to keep the flowers fresh. You can find some of these fresh blooms via flower delivery dubai and add them to your amazing centerpiece.
Set the Foam
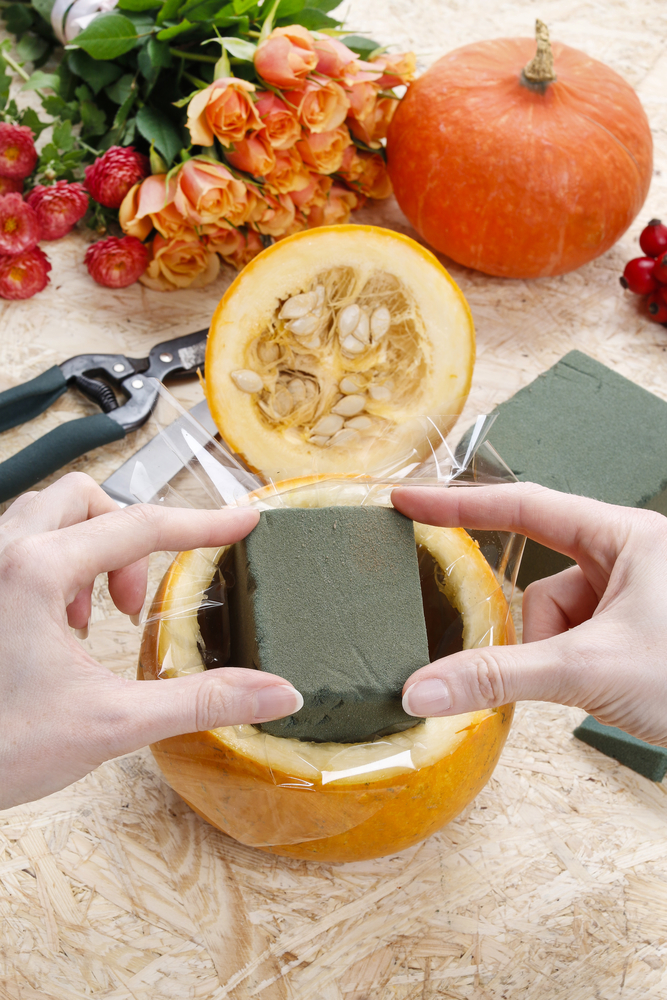
Carefully place the floral foam in the pumpkin, pushing down the saran wrap so that it sits inside of the pumpkin level with top and with some wrap remaining over the top. Do not press too hard, as floral foam can break easily. Cut a small slit in the center of the foam to allow for better watering later. Trim the saran wrap to the edge of the pumpkin and press to secure. You can also secure the edge of it with floral pins if it does not stick well or for extra decoration.
Trim the Flowers
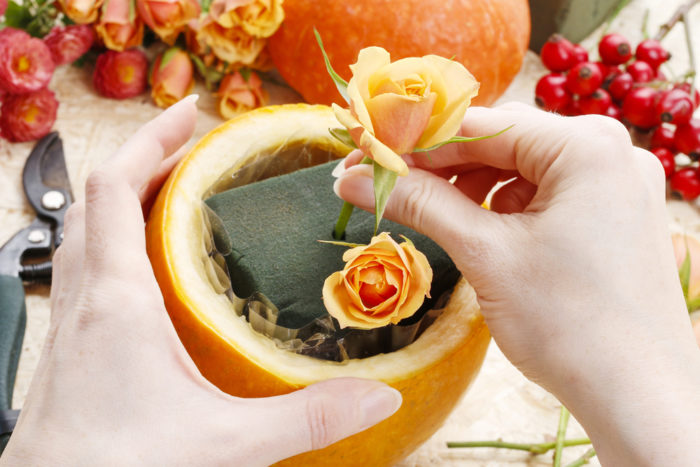
Trim the flower stems and remove leaves. Cut stems at an angle to allow them to better puncture the foam. Start with the stems long and keep shortening them as needed. It is easy to take excess off, but you can’t put it back on if you cut too much off!
Load the Pumpkin
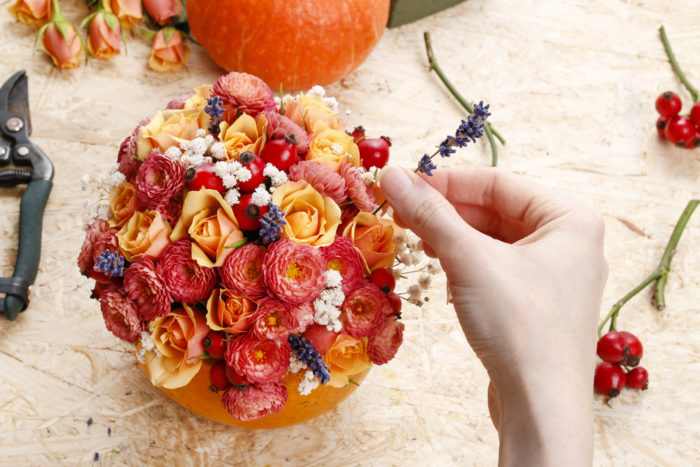
Arrange the flowers by pushing the stems into the floral block. Load the pumpkin up, aiming for a dome shape from the flowers on top. Have fun and be creative!
Wrap it Up
Finish your centerpiece with a ribbon, and it is good to go. This centerpiece can last for up to several weeks. To keep your centerpiece watered, add water to the area where you slit the foam and around the edges. One trick for watering is to use a syringe to aim the water in the correct places. In the alternative, carefully lift the entire arrangement out and place it in a tub of water to soak. Replace faded or wilted flowers to extend the life of the arrangement.
Leave Your Comments