The Hybrid Chick

DIY and Crafts

  • About
    • Privacy Policy
  • Paper Crafts
    • Book Covers
    • Bookmarks
    • Notes
    • Origami
    • Paper Flowers
    • Paper Wreaths
    • Printables
    • Templates
  • Scrapbooking
    • Planners and Journals
  • Sewing & Fabric
    • Fabric Crafts
  • Other Crafts
    • Floral
    • Glass Crafts
    • Wood Crafts
      • Spools
      • Wine Corks
    • Yarn Crafts
  • Holidays
    • Christmas
      • Ornaments
    • Mother’s Day
    • Thanksgiving
    • Valentine’s Day
  • Lifestyle & Family
    • Beauty
    • Family and Kids Crafts
    • Fashion
      • Jewelry & Accessories
    • Home Decor
      • Baby Decor
        • Baby Shower
      • Wreaths
You are here: Home / Uncategorized / Mini Sewing Kit
Uncategorized

Mini Sewing Kit

June 27, 2018 Leave a Comment

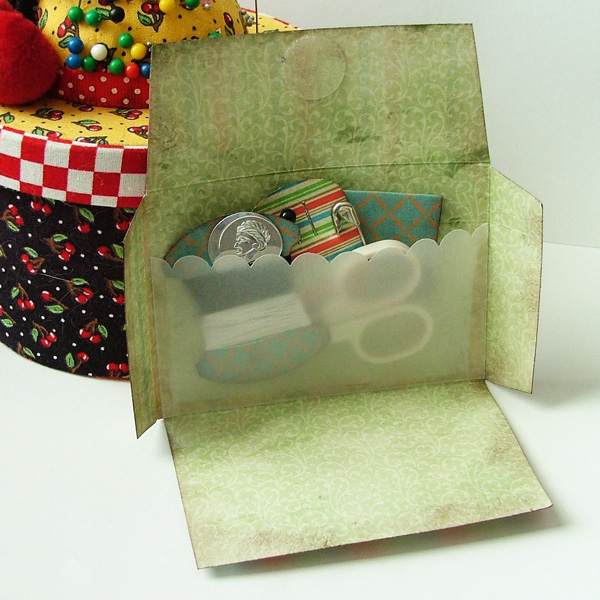
Hi Everyone!  It’s Kristie here to show you how you can make those cheapie dollar store or hotel sewing kits look oh-so-cute!

Supplies List

  • Mini-Envelope by Kelleigh Ratzlaff kit & Lottie Dottie Add-on kit by Pamela Donnis
  • scallop, label, and key Stampin’ Up! punches
  • double sided sticky tape
  • Tombow adhesive
  • pop dots
  • scissors
  • paper piercer
  • white cardstock
  • ink/sponge
  • stapler
  • 3 1/2 x 2 1/2 piece of vellum
  • sticky velcro circles
  • Items to place into kit–1 needle, 2 pins, 2 buttons, 1 safety pin, needle threader, sewing thread & small scissors

I’m going to use the below Mini-Envelope Template from Kelleigh Ratzlaff and the Lottie Dottie Add on freebie kit by Pamela Donnis:
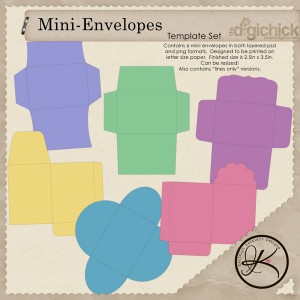

kelleighr-minienv_lrg

podd_lottiedottie_addon_lrg

Here’s what my scrapped envelope looks like:
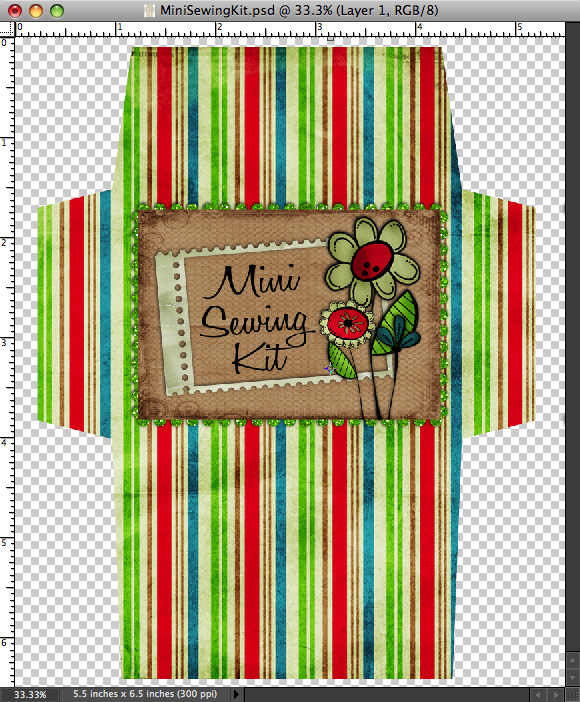
minisewingkit4

  1. Print on a piece of cardstock. On mine I chose a different paper that was the same size as the template and printed it on the on the opposite side.  Remember, if you want your colors to look brighter to adjust the contrast.
  2. Cut envelope out and sponged ink around the outside and inside & score lines.
  3. Grab your 3 1/2 x 2 1/2 piece of vellum and put a small strip of double sided sticky tape along both sides and bottom of the inside of the envelope.
  4. Cut or punch out shapes for your thread, buttons and pins and needles.
  5. Apply velcro to inside top flap and outside bottom flap of envelope.
  6. Place all the sewing goodies inside

minisewingkit2

Here’s a finished picture of the outside of the envelope:

minisewingkit3

by Carla 
Leave a Comment

Filed Under: Uncategorized

About Carla

View all posts by Carla

Related Posts

  • Suitcase Gift Box
  • Mini Pinwheel Cupcake Toppers
  • Back to School with a Post-It Clipboard!
previous article: 27 Sewing Tips and Hacks
next article: 19 Free Printables for Mother’s Day

Leave Your Comments Cancel reply

Your email address will not be published. Required fields are marked *

Follow Me!

  • Facebook
  • Instagram
  • Pinterest
  • Twitter

Recent Posts

  • DIY Apple Pie Playdough
  • Top Craft Kits for Kids
  • Halloween Front Porch Decor Ideas
  • DIY Holiday Centerpiece
  • DIY Fall Centerpeice

Archives

Categories

This error message is only visible to WordPress admins

Error: No connected account.

Please go to the Instagram Feed settings page to connect an account.

Copyright © 2026 · Prima Donna theme by Georgia Lou Studios